

Compost is one of the best things you can do for your garden. It’s basically free plant food made from things you were going to throw away—like veggie peels and dry leaves.
And if you grow tomatoes? Compost can make a real difference. It helps your soil hold water, feeds helpful soil life, and supports strong roots. That usually means healthier plants and better tomatoes.
Let’s keep this simple.
What compost really is (in plain language)
Compost is rotted-down organic matter. It becomes dark, crumbly, and smells like fresh earth.
Think of it as:
- A soil booster
- A slow-release fertilizer
- A “soil sponge” that helps your garden stay moist longer
When you mix compost into your garden beds, it improves the soil over time instead of giving plants a quick “burst” that fades fast.
Why compost helps tomatoes so much
Tomatoes are hungry plants. They grow fast, make lots of leaves, and produce heavy fruit. Compost helps by:
- Feeding the soil, which feeds the plant
- Improving drainage (tomatoes hate soggy roots)
- Helping soil hold moisture (tomatoes hate drying out)
- Supporting root growth so the plant can handle heat better
My opinion: If you do only one soil improvement this season, make it compost.
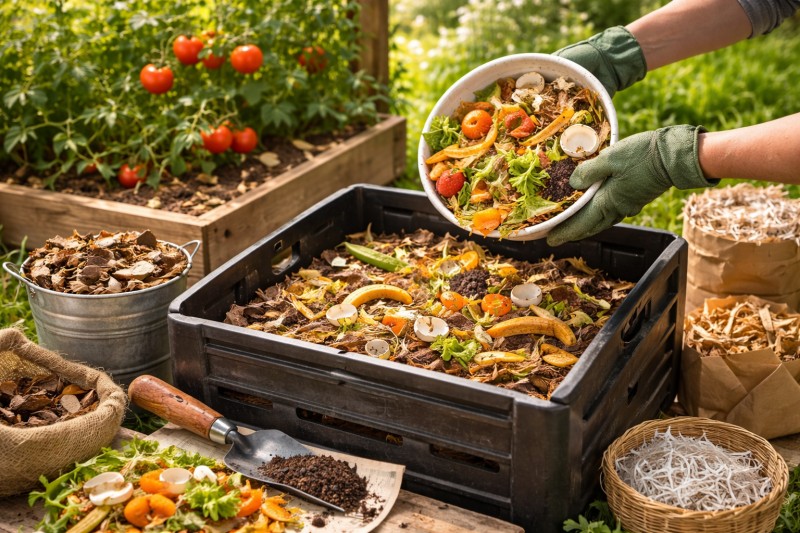
The simple compost recipe: Greens + Browns
Compost works best when you mix two types of materials:
Greens (nitrogen)
These are “wet” items that break down fast:
- Fruit and vegetable scraps
- Coffee grounds + filters
- Tea bags (if they’re paper)
- Fresh grass clippings (thin layers)
Browns (carbon)
These are “dry” items that add structure:
- Dry leaves
- Shredded cardboard (plain, no glossy coating)
- Shredded paper (no shiny inks)
- Straw
- Small twigs
Easy rule to remember
For every 1 bucket of kitchen scraps (greens), add about 2 buckets of dry stuff (browns).
If you only compost scraps and forget the browns, your bin can get stinky and soggy. Browns fix that.
What NOT to compost (beginner safety list)
Skip these to avoid smells and pests:
- Meat, fish, bones
- Dairy (cheese, milk, yogurt)
- Grease, oils, cooked foods
- Pet waste
- Diseased plants
- Weeds that have gone to seed (unless you compost hot)
Also avoid: Glossy paper, charcoal ash, and anything treated with chemicals.
Easiest ways to start composting
You have three beginner-friendly options. Pick the one that fits your life.
Option 1: A simple compost bin (best all-around)
Buy a basic outdoor compost bin, or use a plastic tote with holes drilled in it. Keep it close to your garden if possible.
Option 2: A compost pile (cheapest)
Pick a corner of the yard and start a pile. Works great if you have lots of leaves and garden trimmings.
Option 3: Trench composting (easiest, no bin)
Dig a small trench or hole, add scraps, cover with soil. That’s it. It breaks down right in the garden.
My opinion: Trench composting is perfect if you’re busy and don’t want to manage a bin.
How to build your first compost bin (quick steps)
- Pick a spot with some shade (full sun can dry it out).
- Start with a layer of browns (dry leaves/cardboard).
- Add a smaller layer of greens (kitchen scraps).
- Add another layer of browns on top.
- Lightly water if it’s dry (it should feel like a wrung-out sponge).
- Repeat layers as you add more.
Important: Always “cap” kitchen scraps with browns. It reduces smell and pests.
How to know if your compost is “right”
Good compost smells like:
- Fresh soil / earthy
Compost that needs help:
- Smells bad: add more browns and mix it
- Too dry: add a little water and mix
- Too wet/slimy: add browns and turn it
- Not breaking down: chop scraps smaller and mix more often
Do I need to turn compost?
Turning helps it break down faster because it adds air.
But you don’t have to turn constantly.
Beginner goal: Turn it about once every 1–2 weeks, or whenever you remember.
If you don’t want to turn at all, compost will still happen—it just takes longer.
How long does compost take?
It depends on:
- how often you turn it
- how much you add
- weather and temperature
- how small your scraps are
Typical timeline:
- Actively managed bin: 2–4 months
- “Set it and forget it” bin: 6–12 months
How to use compost for better tomatoes
Here are easy ways to use it without overthinking:
1) Before planting (best option)
Mix 1–2 inches of compost into the top 6–8 inches of soil.
2) At planting time
Add a small scoop into the hole and mix with soil (don’t plant directly into pure compost).
3) During the season (side-dress)
Put a ring of compost around the tomato plant (a few inches away from the stem). Water it in.
4) As mulch (moisture saver)
Spread a thin layer on top of the soil and top with straw or shredded leaves.
Tomato tip: Consistent moisture helps prevent problems like blossom end rot. Compost helps your soil hold water more evenly.
Beginner compost checklist (copy/paste)
- Start with browns at the bottom
- Add greens (scraps) in small layers
- Add 2x browns over scraps
- Keep it damp like a wrung-out sponge
- Turn once every week or two (if possible)
- Use finished compost to boost tomato beds
Compost doesn’t have to be perfect. Even “messy compost” is better than none. Start small, keep it simple, and you’ll be surprised how fast your garden improves.
And when your tomatoes start producing more—and tasting better—you’ll know exactly why.
Add comment
Comments